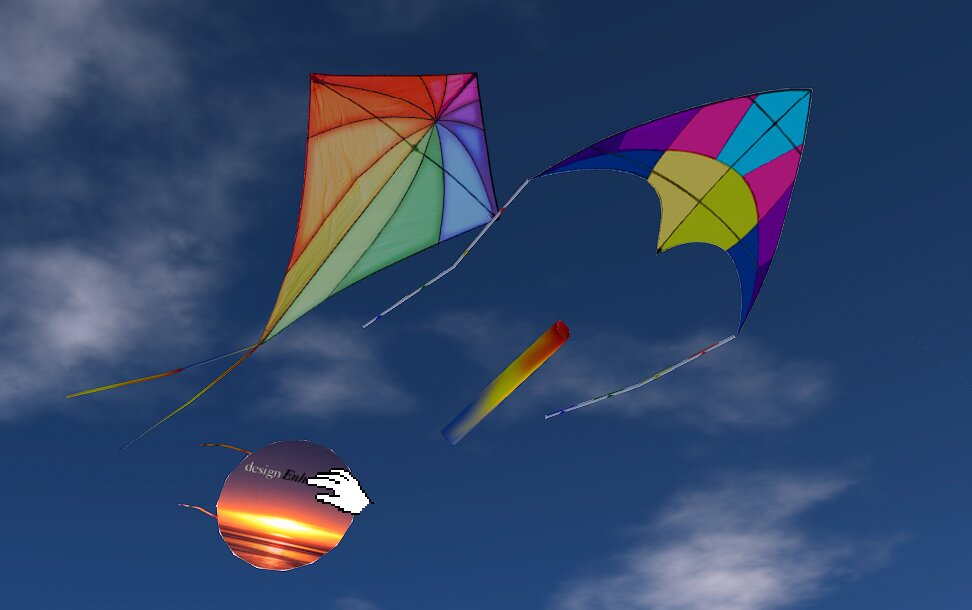
Three common kite shapes are included with "stabilizer tails" attached as child prims.
Kite - with two tail streamers at the bottom
Dart - with a streamers at each corner and a tube stabilizer at the bottom center
Round - with 4 streamers
These are thin single prim objects with kite partially transparent textures applied to the front and back.
You can modify the included kites by adding more streamers, or changing the textures. The Configuration page has guidelines for making your own kites.
Those Streamers
The 'tails' are child prims that you can edit for position and length, or delete. Flexible path control values are used to have them react to the SL wind.
If you want a different color pattern for the tails, you can provide our own textures.
If you want to add more of them, be sure to select "Convex Hull" on the Object tab to reduce the L.I. count afterwards
The Kite Texture
Just place the texture you want into the kite's contents and prefix the name with "KITE ".
If more than one happens to be there, the first one listed will be used.
The texture is automatically applied to the front and back of the kite for simple prim Box or Cylinder objects.
See the configuration page if you want to use a mesh object as the kite.
If you want to use a texture that needs scaling and/or offsets applied, then don't include the texture in the kite's contents.
You can edit and texture the object as needed without the script affecting your values.
The Kite Post
The Kite post serves three functions:
It sets the position on the ground from which the height and distance will be based.
It sets the position on the ground that the kite will face. (But you can over-ride this).
It connects a particle string to the kite.
You can use one post for several kites, or configure a post to connect to only specific kites and rez a post for each kite.
Three posts are included which can attach to 1, 3, or 5 kites with L.I. costs of 1, 2 and 3 respectively.
Making changes once the kite is flying
When the Kite is in the air, touch it for a count of 4 and it will return to the ground start position and stay there until you reset scripts or make a change to the Contents.
Using the Kite for Advertising
To have the kite fly over your exhibit booth or store you want it to face a direction where visitor traffic can see it.
Determine the location from where you want people to easily see the kite from, and note the compass direction to your store.
This will be used on the WIND configuration notecard. (This does not need be in your parcel, or even in your region.)
"Add" the dE Kite LOOKAT Tool from the product folder and walk to the spot you want the kite to face.
Touch the tool (over your head), and use the string in the chat window as the name of the LOOKAT noteard.
Estimate the distance between this position and the center of your store. This will be used on the DISTANCE configuration notecard.
On your parcel, rez and edit the kite:
Add a WIND notecard with the compass direction and the degrees left/right for the kite to move about. (5 seems to work well.)
Add a LOOKAT notecard with the location you noted in step 1.
Set the HEIGHT notecard value to about 10 above the highest part of your store.
Set the DISTANCE notecard with the value you found in step 2.
When you stop editing the kite, the script will reset and the new configuration will take effect.
Adjust the configuration notecard values for DISTANCE and HEIGHT for the best visibility over trees or other buildings.
You can use a Kite Post on your parcel if you want. Normally the Kite faces the Kite Post, but with the LOOKAT notecard, the post is only used to connect a string to the kite.